


Since there is a whole chapter with yeast breads and pizzas in my new cookbook, The Big Book of Gluten Free Baking, I thought I would share a few tips for baking gluten free bread.
You can read all about them in my book, but if you happen not to have a copy yet, these tips are universal and should be used regardless of what recipe you’re using.
These are some tips for baking gluten free bread I’ve learned over the years through research and trial and error.
Tip #1
Choose the right flour blend. Years ago I discovered that having sorghum in my flour blend added something extra special to my bread. I think it adds to the overall texture and softness. It also adds to the nutritional value of the bread. So whether you buy or blend your own, look for sorghum in the ingredients. My second favorite ingredient that’s also in my bread flour blend is Millet flour. It’s also nutrient dense and adds to the overall flavor and color of the bread.
Tip #2
I have found that most gluten free bread recipes require adding egg. I haven’t been able to make a loaf without either using an egg replacer like flax eggs or real egg. If you’re adapting a traditional recipe, you might consider adding it in.
Tip #3
Apple cinder vinegar is your secret weapon. Just adding 1 tsp-1tbsp can really help add some “fluff” to your bread. It’s easy to add it even if the recipe you’re using doesn’t call for it. I use it in so many of my baked goods recipes.
Tip#4
Last year I bought a cookbook from No Gluten, No Problem and it taught me to swap out the flour dusted work surface and hands for what I now call an “oil bath”. If I am handling bread dough or pizza dough I now always dip my fingers and palms of my hands in olive oil first. I will also rub some on my parchment paper before working with my pizza dough and rub a little inside my piping bag before piping out my bread loaves. Gluten free dough is generally a wet dough and the olive oil will prevent the dough from sticking to your fingers. Just be careful not to use too much and flood your dough. Use a little bit at a time.
Tip #5
Shape your dough first then let it rise. This one is important (well, they all are really). Gluten free dough doesn’t need to rise twice like traditional dough. Letting it rise first, then shaping it often tends to ruin the dough. So if you are making loaves, pipe them out first, then let them rise. Form and shape the bagel dough, pretzels, hamburger buns, pizza dough and etc. first, then let them rise.
Tip #6
Bake the bread or pizza on the 3rd lowest position in your oven. This one is a little harder to explain because it depends on how many rack shelves are in your oven. I usually bake my bread and pizza on the rack right above the lowest rack.
Tip #7
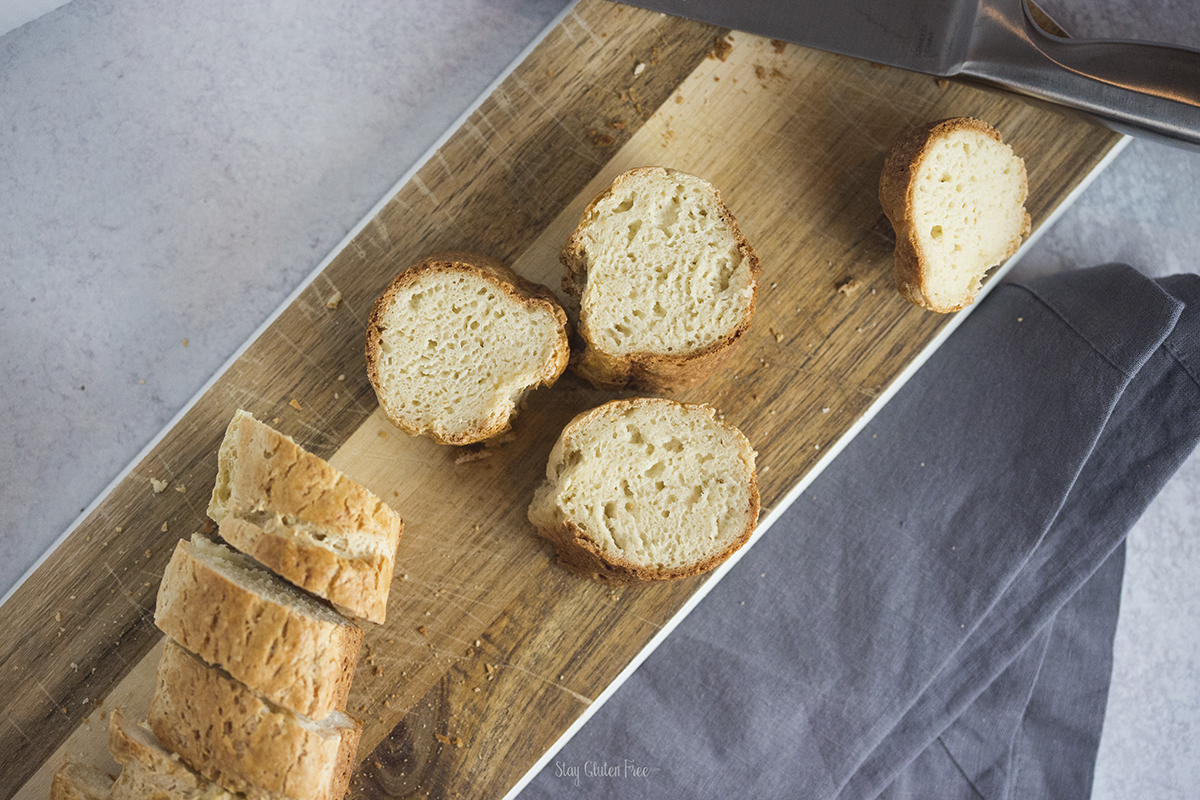
Don’t cut into your bread right away. I know it’s so hard to resist cutting into warm bread but please hear me out. Often times we cut into the bread right out of the oven and find that it’s still gummy in the center. Then we think the recipe is bad or the bread is undercooked. But if you let the bread sit and cool for a bit, maybe 30 minutes or so, you’ll find that when you cut into it, it isn’t gummy at all. (Disclaimer; this is 95% true if it also a good recipe). This is also a great rule of thumb for all of your baked goods.
Tip #8
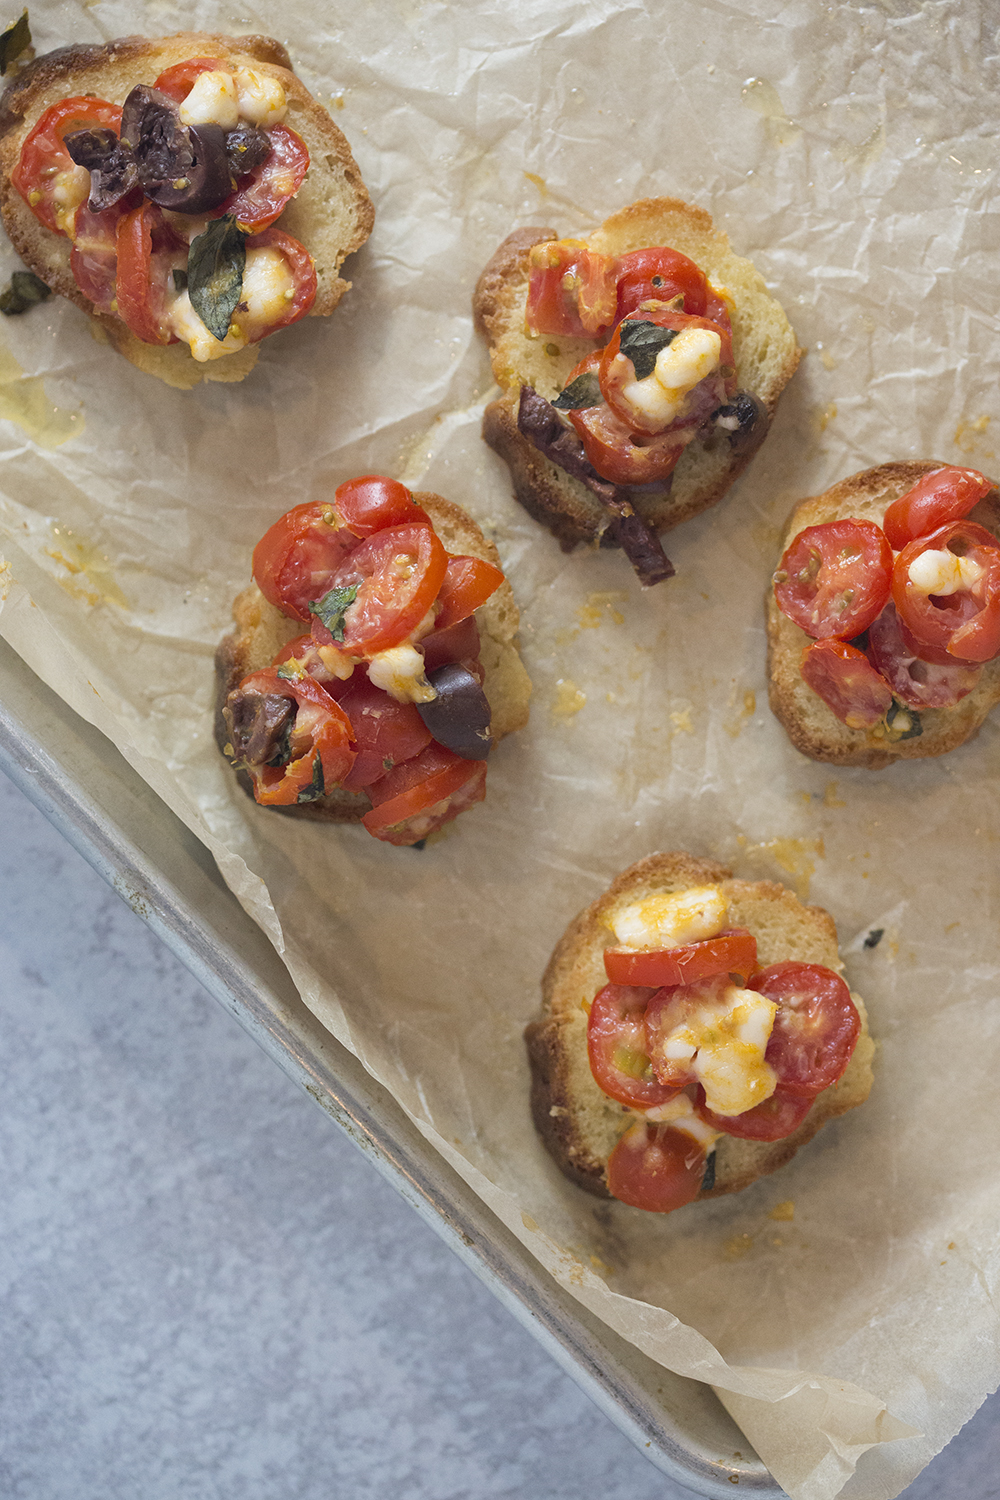
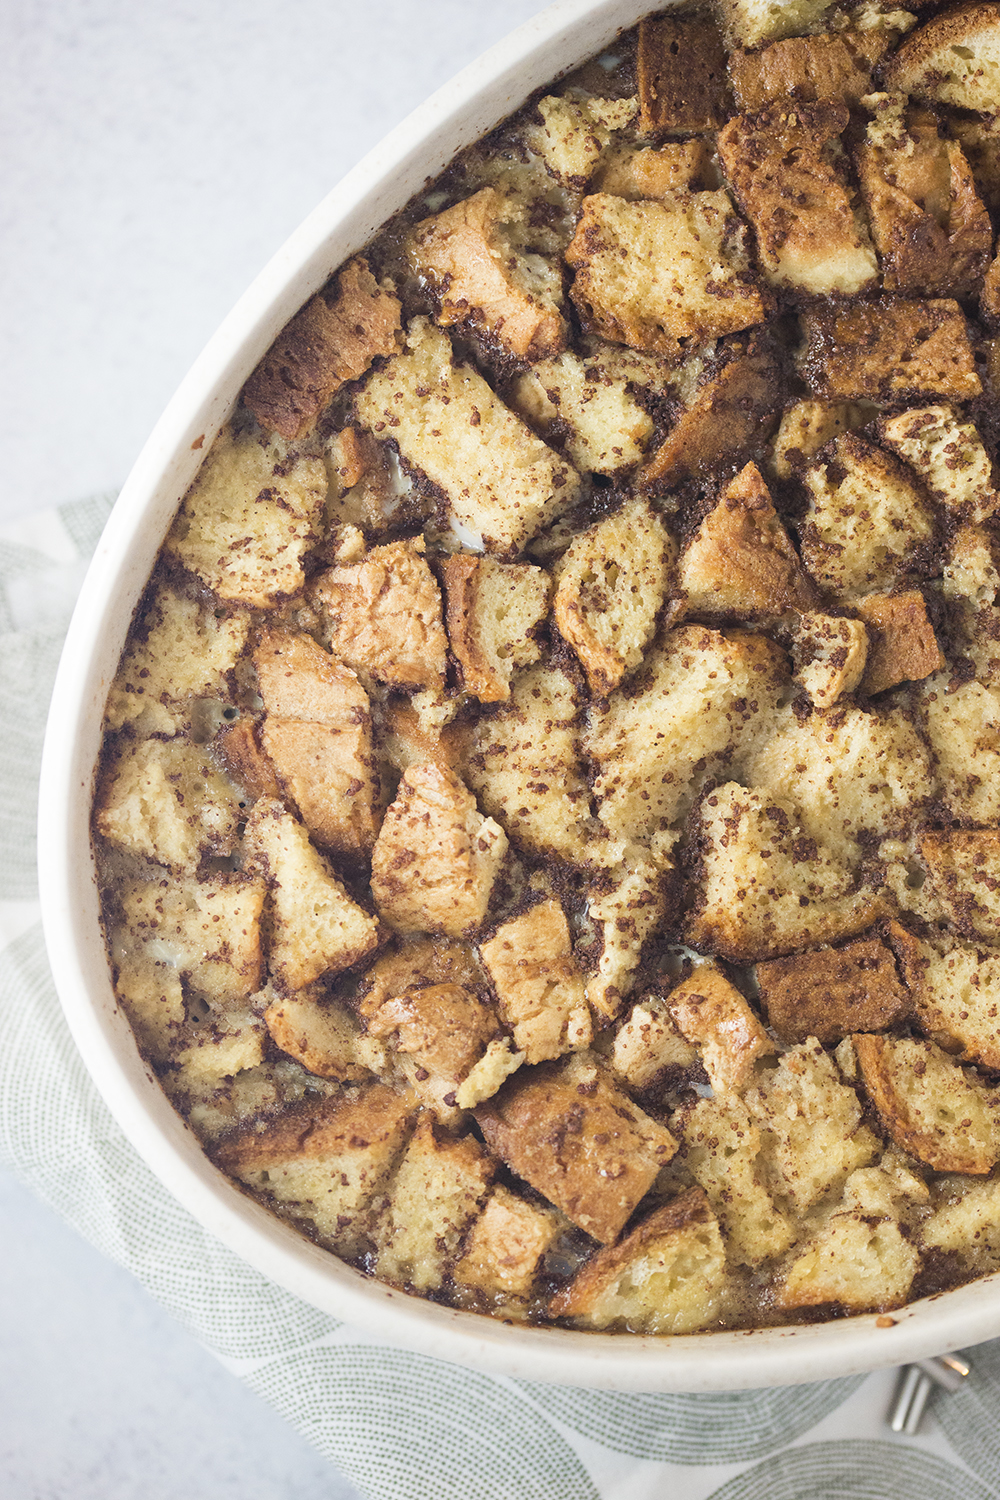
In my opinion gluten free bread doesn’t have as long of a shelf life as traditional bread. But I’ve learned not to waste any of it. I now use day old bread to make croutons, bruschetta and even bread pudding (yum). Homemade gluten free bread can always benefit from being warmed up the next day. If you feel like it still isn’t as good as it was on day 1, try one of the ideas above. Repurposing stale bread will make the idea of baking your own bread less daunting, I promise. I added some photos to the sidebar of my day old creations.
Are these all the tips? Heck, no. But these tips for baking gluten free bread are to get you started and on your way. In the coming months as I share more of the how-to’s I’ll be sure to keep adding to this list.
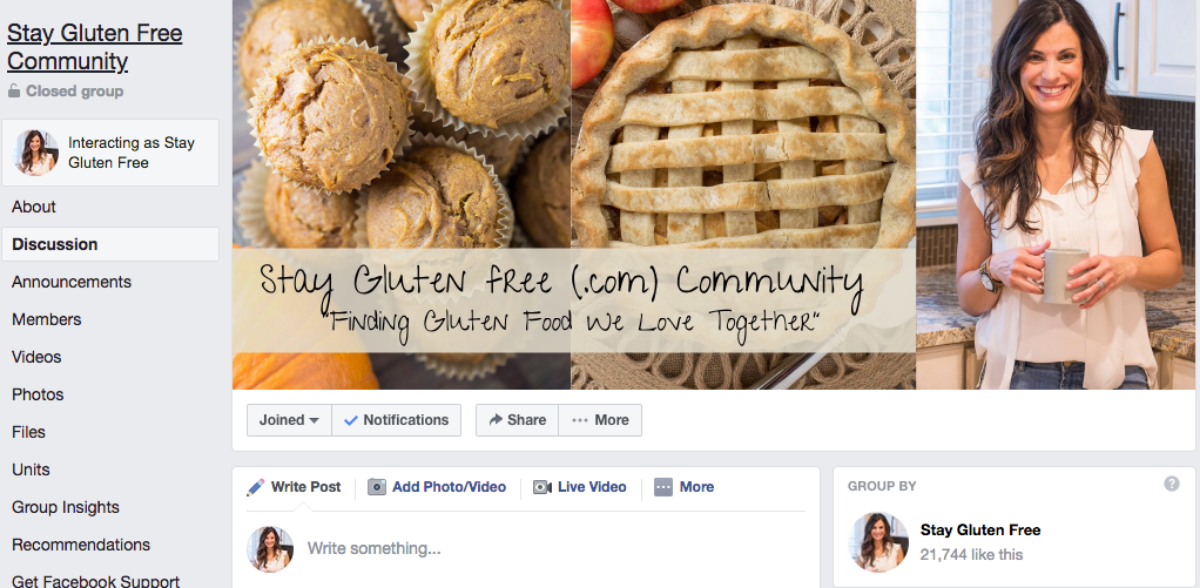
Until then, be sure to share your baking success stories (especially with my recipes) in my Stay Gluten Free Community on Facebook (it’s FREE to join, click here)
Is there an ah-hah tip in here you didn’t know before? Or is there something that works for you? Let me know in the comments below.
Happy bread baking!
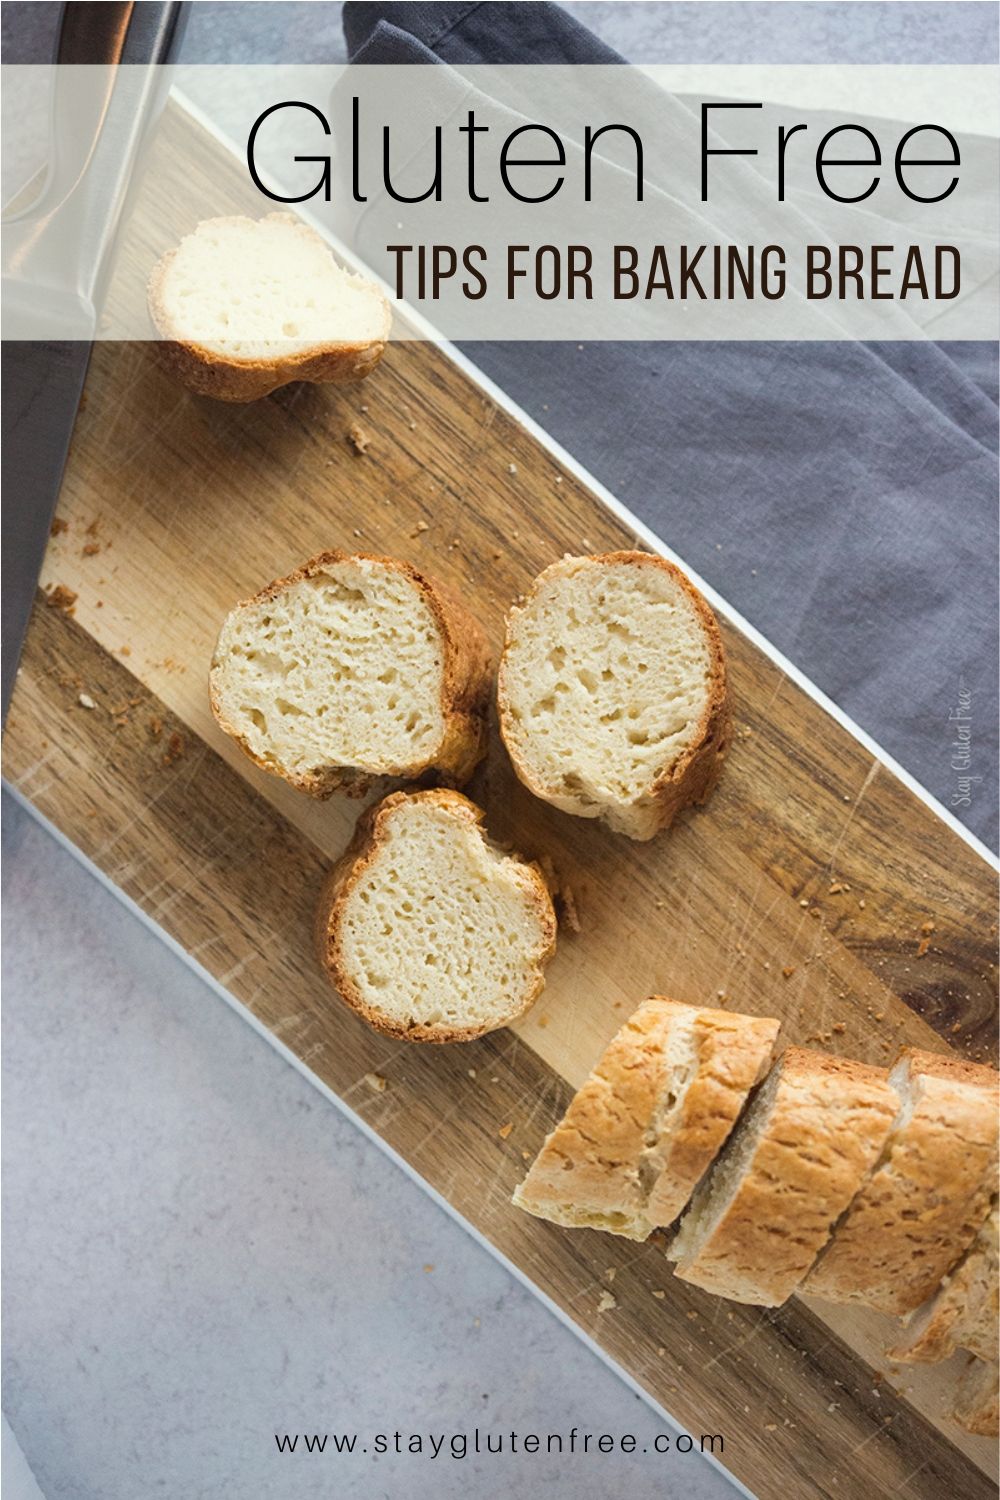
Tips For Baking Gluten Free Bread
Since there is a whole chapter with yeast breads and pizzas in my new cookbook, The Big Book of Gluten Free Baking, I thought I
Search for more recipes here

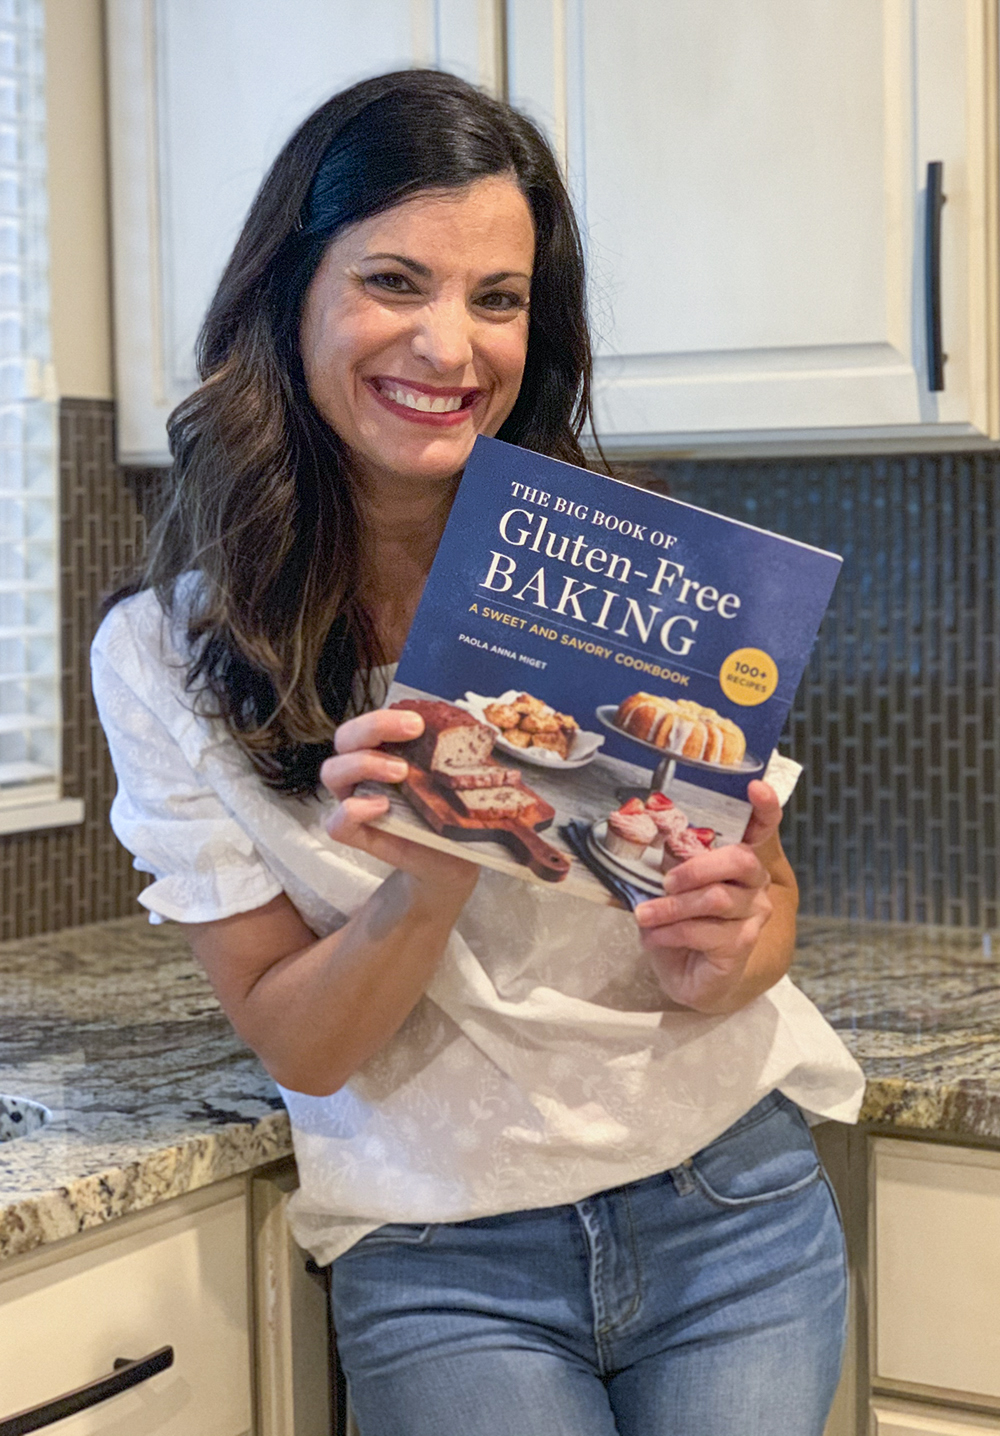
Paola Anna has helped thousands of people live a delicious gluten free life. Her gluten intolerance and her boys’ food allergies have inspired her to be an advocate for the gluten free community and create recipes that are top mostly 8 allergy friendly. You can sign up to be a Gluten Free Insider at her website stayglutenfree.com
ALL of your tips were ah ha moments for me. The apple cider and rack positioning are probably the most interesting for me. I’ve always thought the bottom of our baked goods would burn the closer they are to the bottom. I’ll have to try this when I bake again this fall. Thank you.
I’m so glad. Yes I agree about the rack. I was always intimidated by it until I tried it. Remember it’s not the very bottom rack. It’s the rack right just above it. And the apple cider vinegar will definitely help get you great results. Keep me posted.