Before I share this recipe with you, I have to admit something. It has honestly taken me this long to figure out gluten free cookie cake. Don’t get me wrong, like you, I had tried recipe after recipe and it just didn’t seem to taste right. There were also times that it literally stuck to the pan.
You see, as a mom of little ones (yes, I still think my eight year old is little) I don’t get much time to study and learn from others. Most of what I do is self taught. And for this reason sometimes , I find what works and stick with it. But for some reason gluten free, allergy free cookie cake was something I couldn’t get right.
And the best part of it all is that you can use this one simple recipe to either make cookie cake or fruit pizza (yum) for all of those summer BBQs.
This is also another recipe I saved you some time on by using King Arthur’s gluten free all purpose mix. If you have followed me for some time, I usually blend my own mix. But life is a little busy right now so I will save that for when it is absolutely necessary. It’s easier on our time and our wallet.
Pin it here–>
My Ingredients
As I just mentioned, I used the King Arthur’s gluten free all purpose mix. If you haven’t tried this flour yet, you should. I have always said there is not one gluten free all purpose flour that works in every single recipe and that is why I tend to make my own. But I have been using King Arthur’s for a while now and I have been pleased with my results.
Be sure you get the right one because for some reason there are a couple of different blends. The all purpose contains no baking powder and no xanthan gum.
This cookie cake is also dairy free and egg free and I replace them using the soy free Earth Balance butter sticks and Bob’s Red Mill Egg replacer. I am replacing one egg with the egg replacer should you choose to try it with a real egg. I can’t guarantee your results will be the same but if you try it please let me know.
Get the butter out of the refrigerator about 15-20 minutes before you are ready to get started. It shouldn’t be ice cold, but doesn’t necessarily have to be room temperature. As you mix it, the butter will warm up naturally.
And if you haven’t tried Watkins brand vanilla you are truly missing out. It is the most flavorful vanilla I have found. And before you ask, yes I have used Nielsen Massey, it doesn’t hold a candle to Watkins in my opinion.
My Method
If you have seen the “look over my shoulder” video I made for my gluten free pizza crust. You will have some idea about how to manipulate this cookie dough. Your dough will be slightly sticky and you will want to dust your fingertips with some flour.
When working the dough you will want to shape it with your two hands working from the middle toward the edges. You will do this on a piece of parchment paper big enough to shape the entire crust. You will then place the cookie crust and parchment paper on top of the pizza tray you will be cooking your crust on. I recommend using a disposable tray, it is lightweight and guarantees your crust doesn’t get leftover oil residue from all the pizzas you’ve made;)
You will shape the dough and then refrigerate it for 30 minutes before baking. This will prevent your dough from spreading. Also you will have better luck baking this in an aluminum (disposable) pizza pan. The darker the pan, the more risk your dough has to spread.
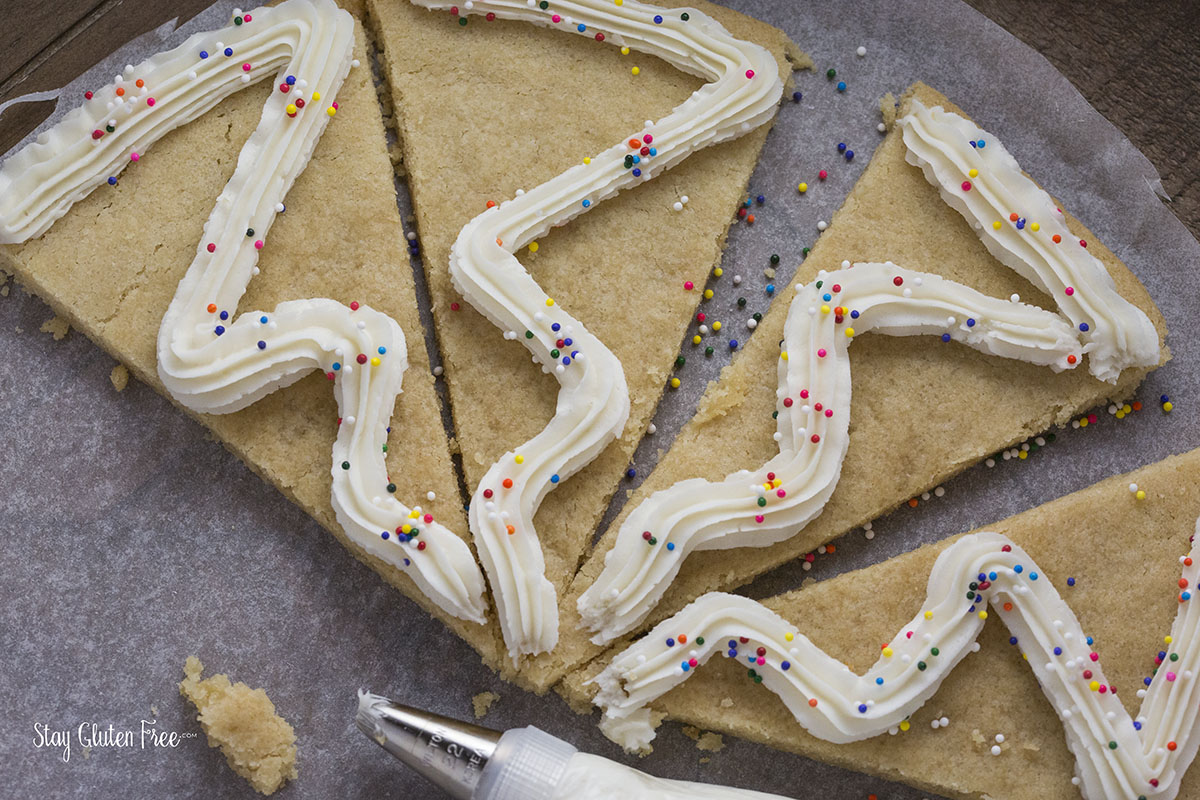
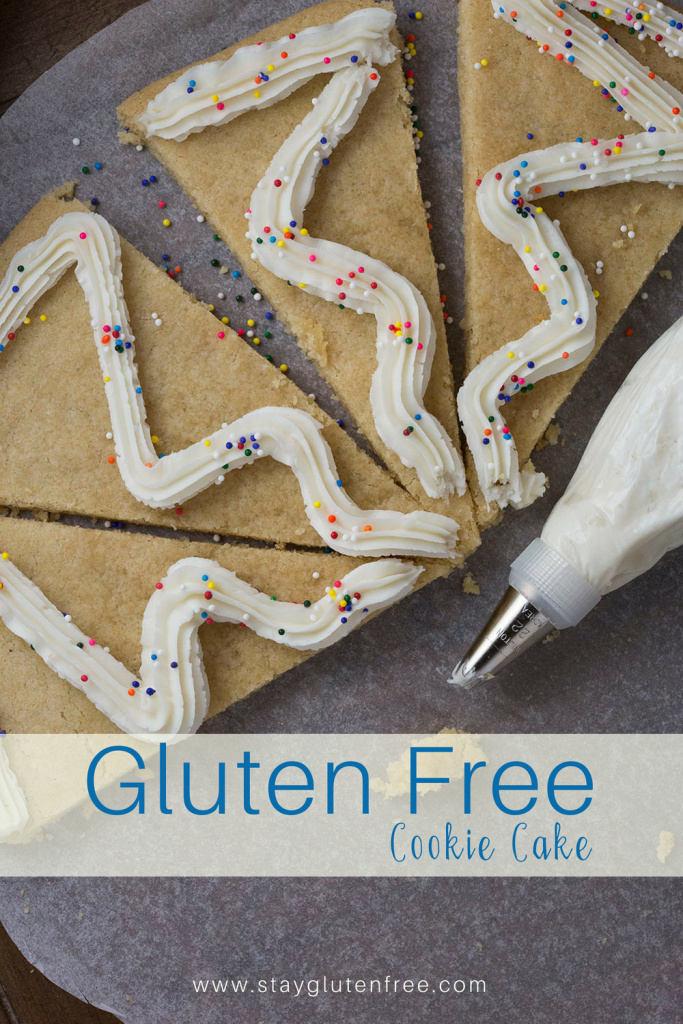
Let the cookie cool completely and top it with your favorite icing and sprinkles. Sprinkles are a little hard to shop for because they can be a non gluten containing food but run the risk of cross contamination. I do not endorse or recommend any certain brand. My son struggles with the corn contents in them as well. So sprinkles are a matter of preference to your tolerance level.
If you don’t have time to make your own icing I love Miss Jone’s Brand. But if you want something made from scratch that will wow your guests try My Icing Recipe. Depending on how much icing you would like to have for this cake, you may decide to half the recipe. In stand mixer combine the following:
- 4 cups of organic powdered sugar (365 brand and wholesome brand are made with tapioca starch versus corn starch.
- 1 cup of spectrum brand shortening
- 4 tbsp water
- 1 tsp vanilla extract
- Add color if desired
There you have it! Everything you need to make the perfect gluten free, allergy free cookie cake. I hope you and your kiddos love it so much. Please be sure to post a picture of your creation in my Stay Gluten Free Community (it’s FREE to join, click here). It means so much to me to see you love and enjoy my recipes.
Until Next Time!

Gluten Free Cookie Cake
Ingredients
- 1/2 Cup (115g) Earth Balance butter sticks
- 3/4 Cup (150g) Granulated sugar
- 1 tbsp Bob's Red MIll Egg Replacer
- 2 tbsp Warm water
- 2 tsp Vanilla extract
- 1 1/2 Cups (190g) King Arthur's All Purpose Gluten Free Flour
- 1/4 tsp salt
- 1 tsp baking powder
- 1/2 tsp baking soda
- 1 1/2 tsp Arrowroot
- 1 1/2 tsp Xanthan gum
Instructions
- In large bowl whisk together flour, salt, baking powder, baking soda, arrowroot and xanthan gum. Set aside
- In bowl of stand mixer add butter and sugar and cream together for about 2 minutes or until butter has softened.
- In small bowl make your egg replacer with 1 tbsp of egg replacer mixture and 2 tbsps of warm water. Let sit for one minute to thicken.
- Add egg replacer and vanilla to the butter and sugar and mix for about 2 minutes.
- Slowly add the dry mix to the wet ingredients and mix until a crumble forms.
- Continue forming the dough by hand.
- If your dough is sticky, dust your fingertips with some flour and shape the dough into a ball.
- On a piece of parchment paper begin to shape the dough from the center toward the edges (like pizza dough). Push out with your right hand and smooth the edges with your left hand.
- When a flat 12" circle is formed place the dough and parchment paper on a pizza pan, cover it with another piece of parchment paper and refrigerate for 30 minutes.
- Preheat oven to 350 degrees
- Once 30 minutes has passed and oven is ready bake the cookie cake for 18-20 minutes.
- Let cool completely. Add icing, serve and enjoy!


