


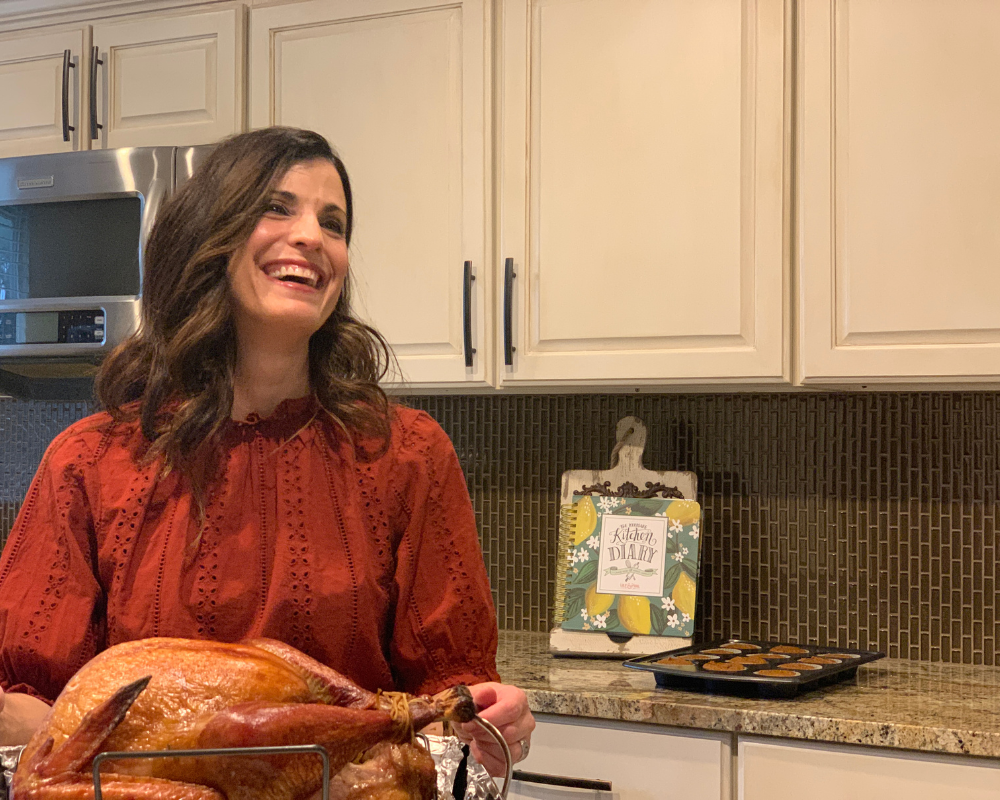
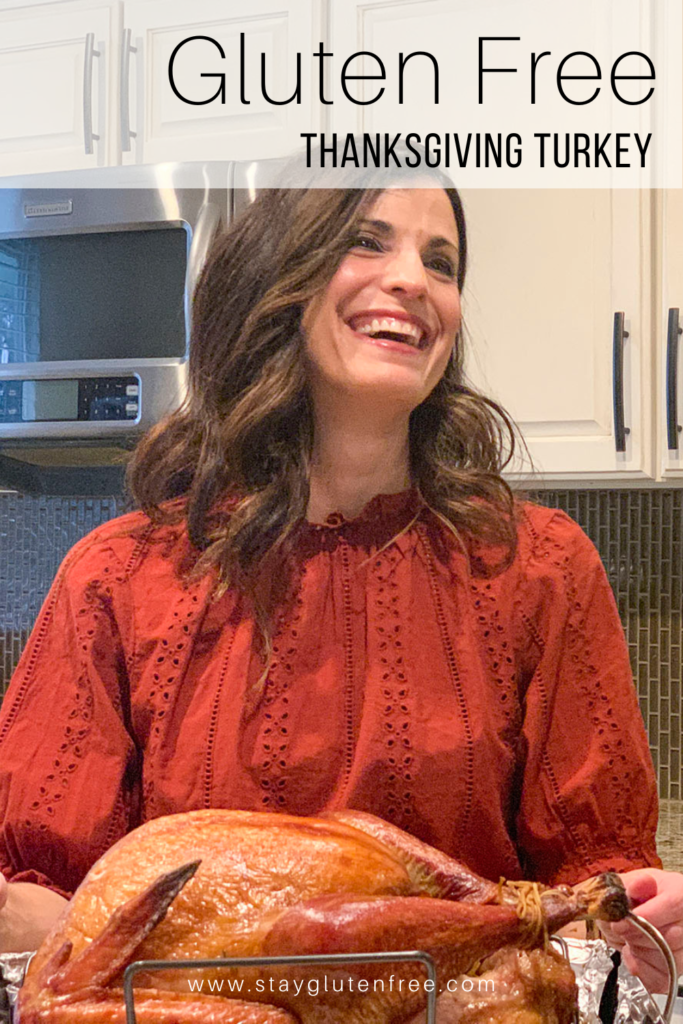
Cooking a Thanksgiving turkey is a big job. I cooked my first turkey ever, after I discovered we had food allergies. The biggest lesson I learned in the process is to ALWAYS buy a gluten free turkey. Your turkey is one of the hidden places to get exposed to gluten. You see, unless your turkey is farm fresh and never injected and is labeled gluten free, it is likely to be injected with a solution that contains chicken broth which most likely contains gluten. It is also likely that you would never know this because we do not think that our food is injected with anything. But it is. This solution helps to give it moisture and tenderness. But fear not, my gluten free turkey is so tender and moist you will not know that it is gluten free.
I always brine my turkey. This takes an extra day in the whole turkey making process, but it is so worth it. Once you brine your turkey, you will never love turkey any other way.
Speaking of the extra day, make sure you plan ahead so that you get your turkey done on time. Since Thanksgiving is always on a Thursday, my timeline should work perfectly for you.
Monday– Pick up turkey
Tuesday night – Brine turkey
Wednesday night – Rinse, dry and lather turkey with butter or dairy free alternative. Stuff with onions, carrots and celery.
Thursday morning– Cook turkey and enjoy!
INGREDIENTS: Turkey brine (Tuesday night)
- 1 turkey 15-25 lbs
- 1 ½ cups coarse sea salt
- 1-2 gallons of water
- ¾ cup organic cane sugar
- 6 Bay leaves
- 1 tsp black pepper
- 1 tsp rosemary
- 1 tsp sage
- 1 tsp thyme
- 1 Fresh squeezed lemon
INSTRUCTIONS:
- You will need one large brine bag and 2 disposable roasting pans*. These are not for cooking. You can cook your turkey in a regular or disposable roasting pan, but that will be in addition to the 2 that you need.
- I use a fresh turkey, but if yours is frozen you will want to make sure it is completely thawed out before you begin.
- Set your turkey in ONE of the disposable roasting pans. Open the brine bag wide and set it in the OTHER disposable roasting pan.
- Unwrap your turkey and give it a quick rinse.
- In a large bowl dissolve salt and sugar with some of the water from your 1 gallon of water. It’s easiest to actually buy 2 gallons of water so that it is already measured. You will most likely only need one but based on the size of your turkey you might need some water from the second gallon.
- Put the turkey in the brine bag (as the bag continues to sit in the roasting pan for support)
- Add the salt/sugar water mixture. If it is not completely dissolved, that’s ok. The goal here is to get it mostly dissolved.
- Add the lemon juice, bay leaves, black pepper, rosemary, sage and thyme.
- Add the additional water. You will want to add enough so that the entire turkey is submerged in water if possible. Sometimes when you tie the bag at the top the water pools to the top and it covers the very top of the turkey.
- Without leaving any extra air in the bag, seal the top of the bag. I usually twist the top and duck tape it closed.
- Put it in the refrigerator for 24 hours.
After 24 hours (Wednesday night) remove the turkey from the refrigerator and place disposable roasting pan with brine bag in sink. Puncture the bag and let the water seep out of the bag. Then cut the bag open and remove the turkey. Give it a quick rinse.
To dry the turkey, place it in a large colander and let it drain. Change positions of the turkey after a few minutes to let any trapped water out. Then take a couple of paper towels and pat it dry.
Line your actual “cooking” roasting pan with aluminum foil placing the grid on top of it. Next place your dry turkey in the pan and begin to rub it with olive oil or butter (I use Earth Balance dairy free butter). If you use olive oil, just put some in a small bowl and give the turkey a good rub with your fingertips. Make sure you get underneath the wings and legs and even the inside of the turkey as well.
INGREDIENTS: To stuff turkey
To prepare to stuff your turkey for cooking, peel and cut the onion in 4ths. Then wash and cut your carrots and celery in half.
Stuff the inside of the turkey with some onion, celery and carrots and place the remaining pieces all around the turkey. To make your turkey look picture perfect, you can cross its legs over each other and tie them together with twine. Cover the prepared turkey with foil and place it in the refrigerator overnight.
To get a rough idea of how long you will cook your turkey on Thanksgiving morning take a look at this chart and calculate the time based on the size of your turkey.
https://www.foodsafety.gov/keep/charts/turkeyroastingchart.html
Preheat your oven to 325 (Thursday Morning) and remove your turkey from the refrigerator.
Add 2 cups of water to the roasting pan and when oven is preheated place the covered turkey in the oven. Begin basting your turkey to moisten it after 3 hours. I usually do this every 20 minutes until it is done.
Roast uncovered the last 30 minutes.
After you remove the turkey from the oven let it sit at least 30 minutes before you cut into it. This allows for the turkey to hold and keep its moisture.
Cut, serve and enjoy this DELICIOUS Thanksgiving turkey.
(*The extra disposable roasting pans are personal preference to make cleaning up easier).
If you make your Thanksgiving turkey this way, please share a photo in my Stay Gluten Free Community and tell me what you think.


Paola Anna has helped thousands of people live a delicious gluten free life. Her gluten intolerance and her boys’ food allergies have inspired her to be an advocate for the gluten free community and create recipes that the whole family will love. You can sign up to receive new recipes and learn more about her GF Baking Club for Kids on her website stayglutenfree.com