


How to cream butter and sugar the right way can definitely make a difference in the outcome of your baked goods.
A few lessons back we learned about leavening, what it is and some ingredients that help us “leaven” our baked goods, like baking soda and baking powder. These are called chemical leaveners.
Today we are going to talk about mechanical leavening ingredients that are changed and used to create tiny air bubbles that help release the trapped gas that is in the baked good.
One very common mechanical leavener is butter. Butter is the starting point for so many things when it comes to baking. The most important thing about butter is to make sure you have it prepped as the recipe suggests. Does it need to be chilled, melted or softened to room temperature? These are probably the 3 most common forms that butter takes on when baking.
Most often you will see butter that is needed softened to room temperature. We’ll talk more about this later, but today we are going to talk about one of the most important functions of butter in baking.
The job of butter in baking is to give richness, tenderness and structure to cookies, cakes, pies and pastries. We can change the way butter works in a recipe by changing the temperature and choosing when we mix it with certain ingredients.
One of the most common things you’ll see written in a recipe is “cream the butter and sugar together”.
But how do we know if we are doing it right? And why does getting it right matter?
There is a such thing as under creaming and over creaming the butter. And then there is creaming the butter just right. In this lesson, I hope to help you get better (or master) this important step in baking.
Under creaming or over creaming can be the difference between:
- A light versus dense cake
- A cake that doesn’t collapse as it cools
- Cookies that spread way too much
First, when we cream butter, we want to make sure the butter is softened butter. That means softened, not too soft. This can be confusing to many bakers. I usually get my butter out about 15 minutes before I begin baking. By the time I need it, when I press into it with my finger, it gives just a little without being greasy. Butter that is too soft will give with the softest press of a finger and is greasy to the touch and butter that is too cold will be brittle.
How long your butter needs to sit out is really going to depend on the temperature of your kitchen. If it is warm and humid, do not take the butter out of the fridge too early. If it’s cold in your kitchen, the butter may need more time to soften.
Since butter is made of fat molecules that cluster when the butter is cold, when we remove it from the fridge to “soften” it, the fat molecules separate, and the butter becomes more flexible.
The flexibility of the butter is important because it helps with the ability of the butter to combine with the other ingredients, evenly distribute the sugar and trap air surrounding the separated fat molecules so that cake, cupcakes, and cookies can properly rise and get that perfect fluffy texture we desire.
Why do we cream butter AND sugar together?
When a recipe calls for creaming both butter and sugar together it is because, the hard sugar granules can cut through the fat and create those tiny air bubbles we need.
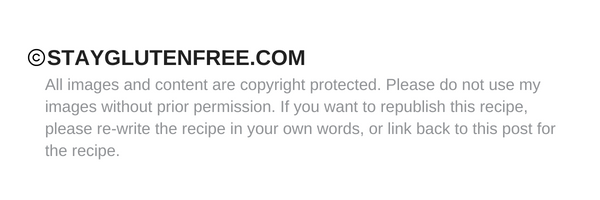
A perfectly creamed butter and sugar mixture usually takes about 3-4 minutes. It will be pale in color and have peaks (like a fluffy thick icing or properly beaten egg whites). The sugar will look like it has dissolved but when you rub a little bit in between your fingers, you can still feel the granules.
Under creamed butter is usually creamed for 1 minute or so and will be darker in color. It will be lumpy, and the sugar granules will be prominent and easy to see.
Over creamed butter will look like whipped butter and is usually creamed for 5-7 minutes. Over creaming your butter can result in dense and gummy cakes and cupcakes.
When I saw this, I thought, this could be one of the reasons when I first started baking gluten free, I struggled with gummy middles and dense cakes. This is why sometimes understanding the baking basics is so important when it comes to troubleshooting and why some things turn out and some things don’t.
Also, the speed of your mixer matters. It’s best when the air bubbles can gradually develop into the mixture. I usually start on a low speed to get the butter and sugar incorporated together and then turn the mixer to a medium speed to make it creamy.
Does all this apply when it comes to using dairy free butter?
In my opinion, absolutely! But I will say, it doesn’t always look the same as it does with real butter. The other thing that can make a butter and sugar mixture look different is the use of organic cane sugar versus refine granulated sugar. Organic cane sugar is made of more coarse granules that you may still see even if your butter is creamed perfectly.
Again, I found this lesson insightful, I hope you did too. When we talk about using room temperature ingredients and why it’s important, we will also learn how to determine if your butter is softened correctly.
Stay tuned for more!

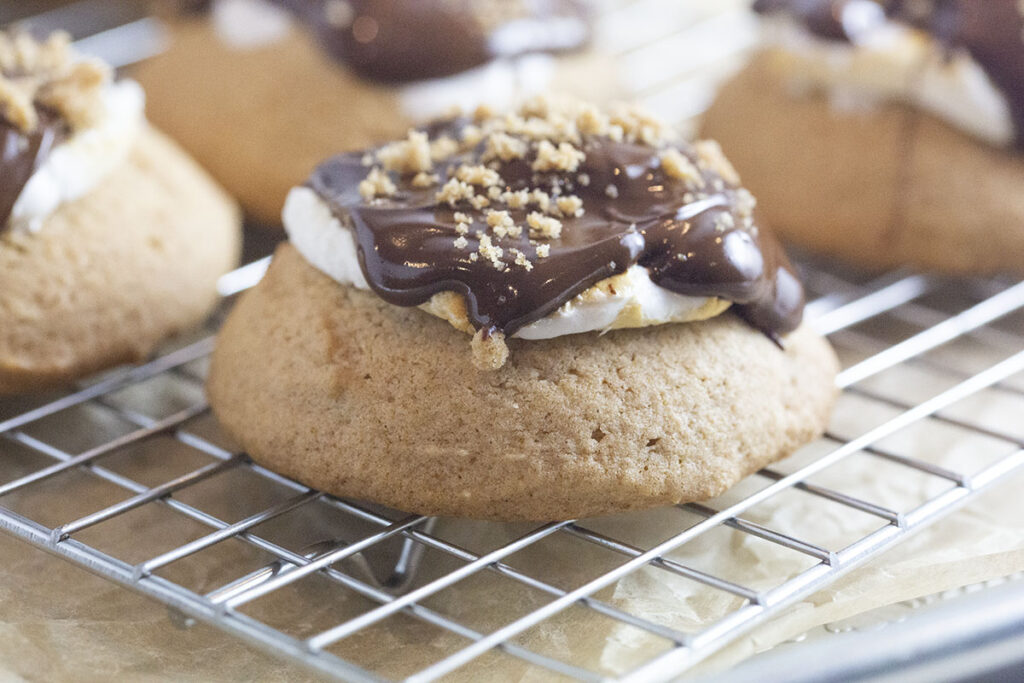
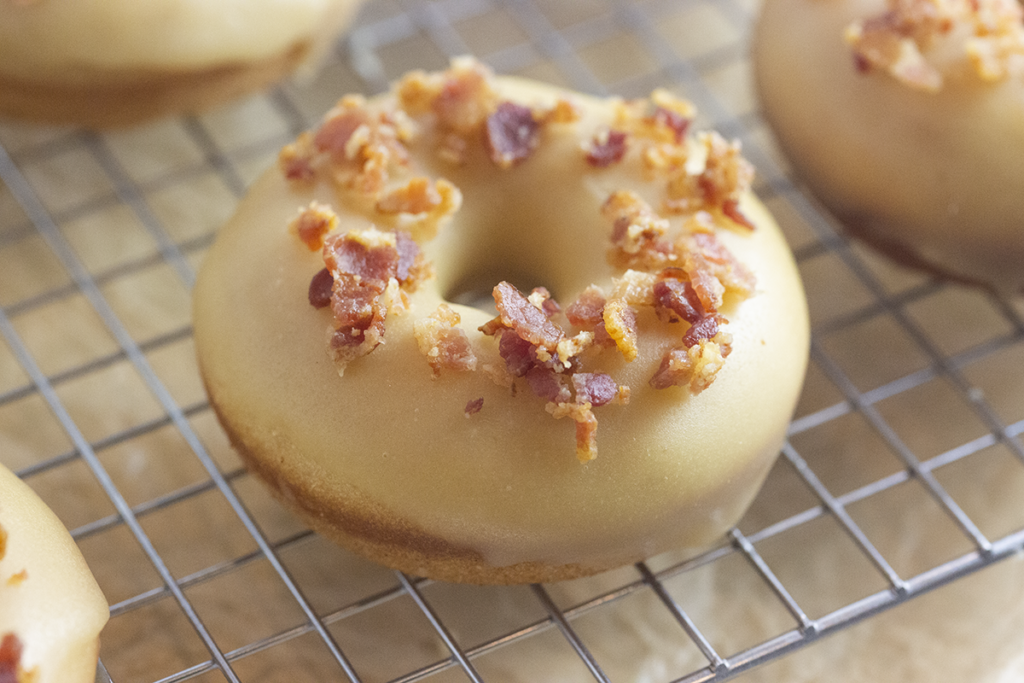
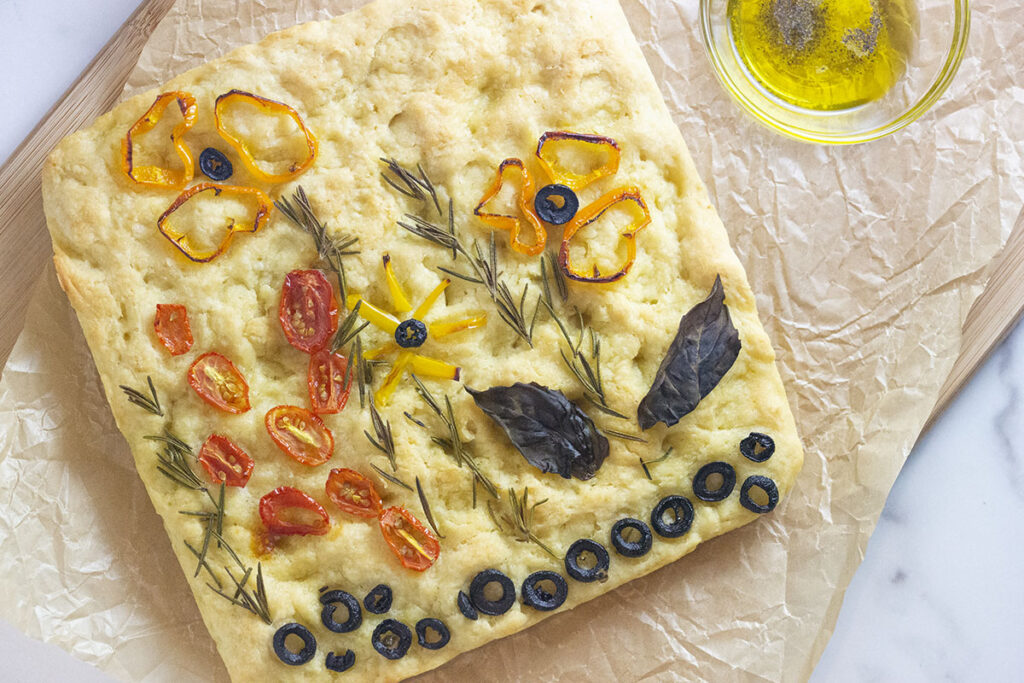
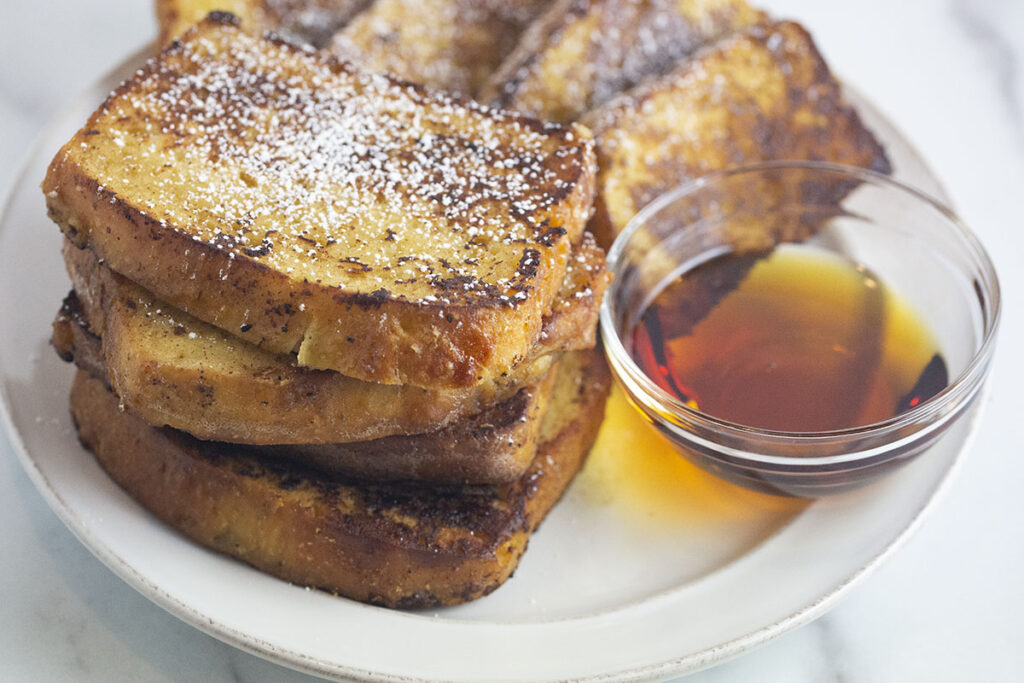
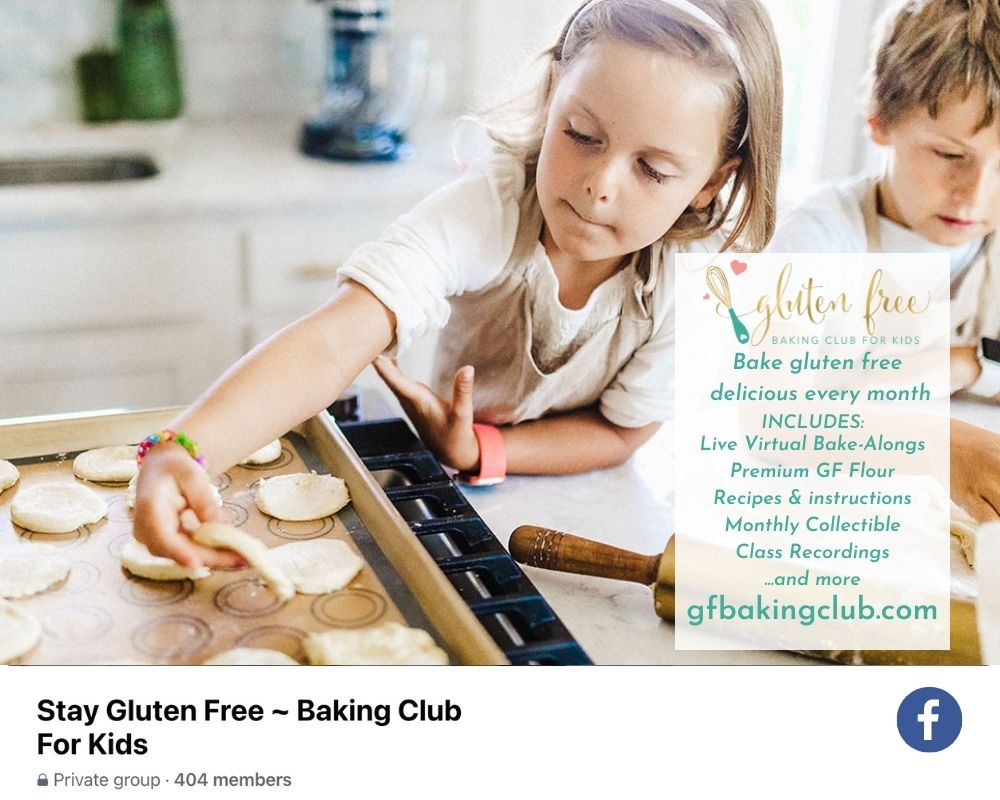
What we're baking in the club!


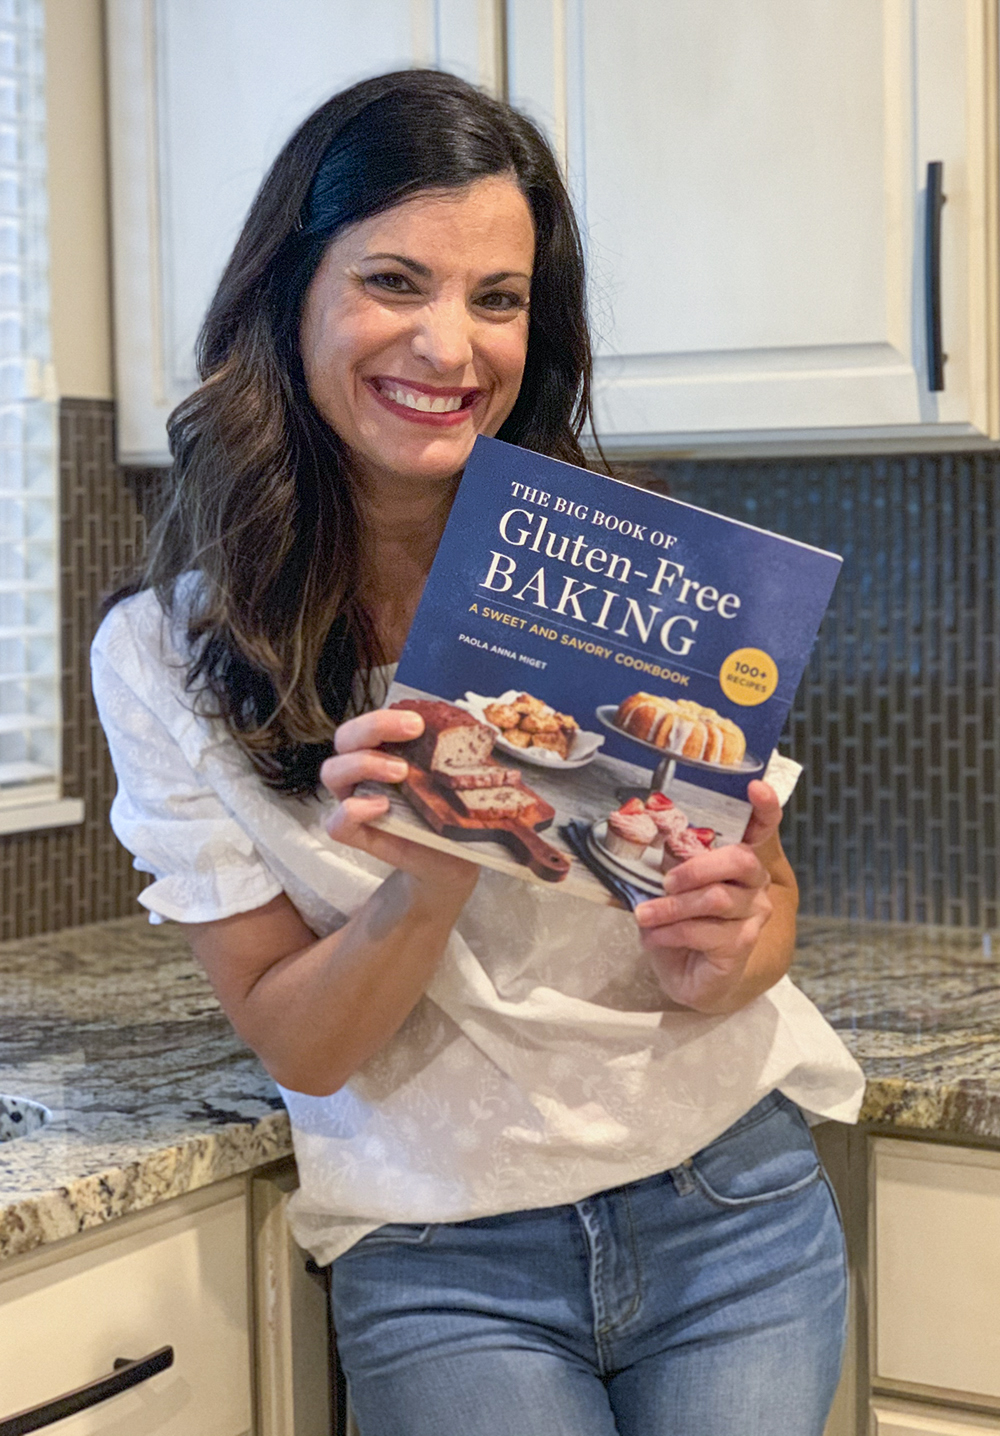
Paola Anna has helped thousands of people live a delicious gluten free life. Her gluten intolerance and her boys’ food allergies have inspired her to be an advocate for the gluten free community and create recipes that the whole family will love. You can sign up to receive new recipes and learn more about her GF Baking Club for Kids on her website stayglutenfree.com