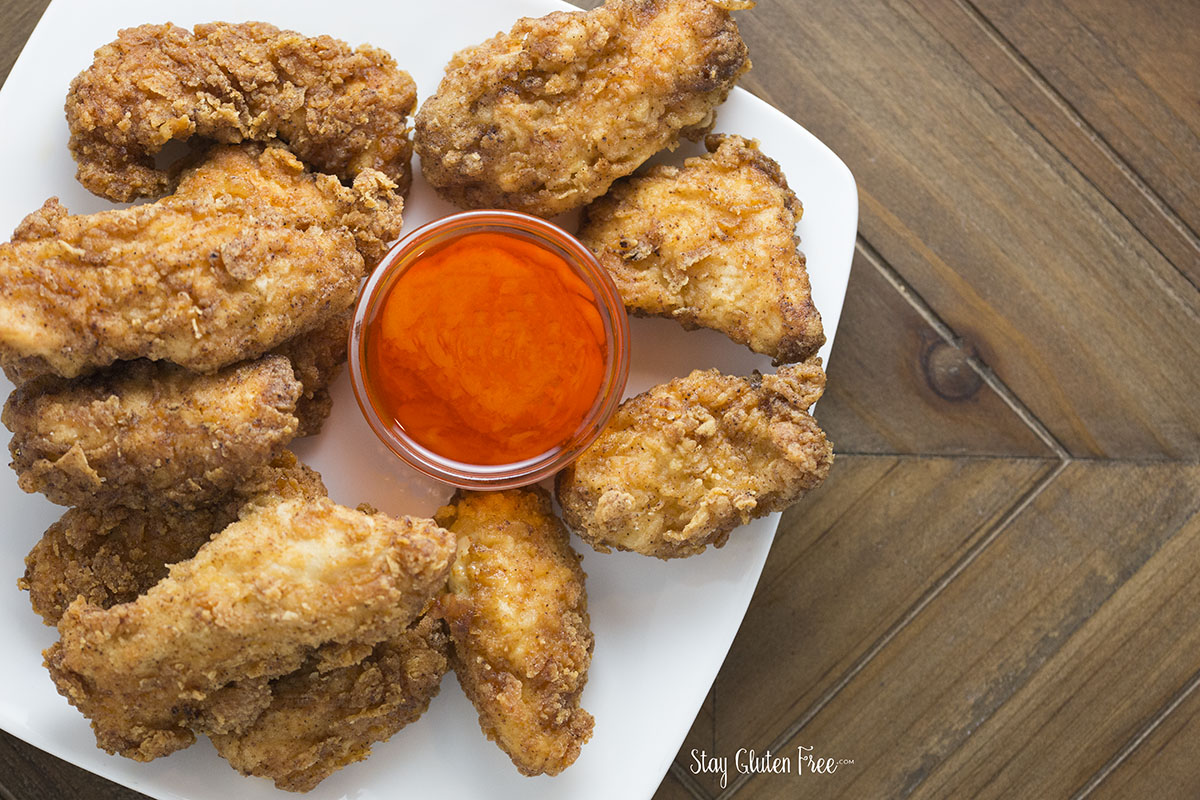
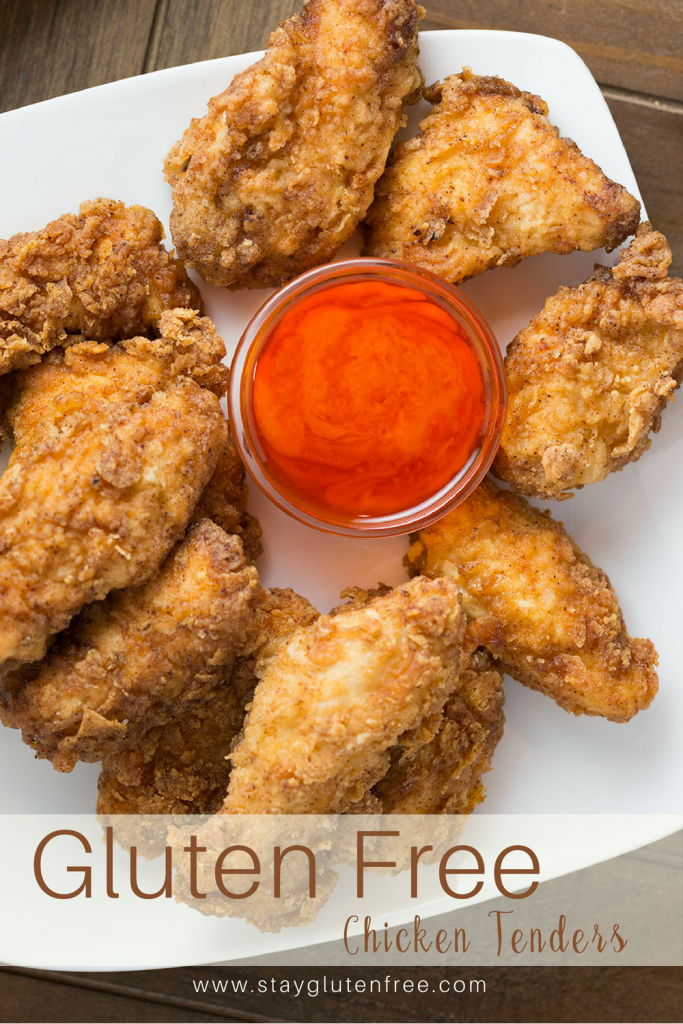
The most important thing to me when my son was diagnosed with food allergies and a gluten sensitivity, was finding food that looked and tasted as good as the food of his peers. I still remember the very gluten free chicken tenders I ever made. And I am so thankful that with help and practice I have perfected these delicious gluten free chicken tenders.
Don’t get me wrong. I want my kids to eat their fruits and veggies and all the good stuff that our earth provides. But I also want them to enjoy being a kid. I want them to have the childhood memories of getting to go out to eat and having ice cream and all the good stuff that represents childhood. One of those things is having chicken tenders.
If you have been following me for a long time you know that I also have an unbelievable way to make chicken nuggets with just 2 ingredients. This is a simple no nonsense recipe made in a skillet. They are super easy and delicious.
But today I’m sharing real deal chicken tenders and I honestly feel like I cracked the code on how to make them tasty and somewhat healthy. Ok ok maybe I didn’t crack the code (I wish I did), but thanks to our cookbook club within my Stay gluten free community (it’s free to join, click here) I learned that I could “flash fry” the tenders for under 5 minutes then bake them at 450 for the remaining 20-25 minutes. This is far better than frying for the whole 12-15 minutes.
When I think of the frozen tenders or the ones that are fried and made in restaurants I know that just the fact that I am making these from scratch make them far healthier already. Making them from scratch allows for you to choose the chicken and eliminate the preservatives and all the additional junk that doesn’t belong… am I right?
So if you are like me and want to bring some normal in the lives of your kiddos make them these tenders. Your kids will thank you!
Pin it here –>
My Ingredients
I know I must sound like a broken record sometimes but I honestly think that there isn’t one gluten free flour (yet) that can do all things. For instance, I have found some better for baking, and some better for frying. So to make these chicken tenders I used Pillsbury gluten free flour. I have tried two other flours and my results were not as crisp.
However, Pillsbury gluten free flour has left my baked goods with a gritty texture, so I do not use it for baking.
I also make my own buttermilk since we are dairy free. To do this, generally for every 1 cup of So Delicious original coconut milk I will add 1 tablespoon of apple cider vinegar. Some people take a tablespoon of the milk out so you end up with exactly a cup of buttermilk. I do not.
There are 3 things you want to make sure you do, shake the milk well before adding the ACV, stir it once you add the ACV and let it sit for 5 minutes before using it.
The amount of buttermilk you need will be based on the amount of chicken you are using. Generally I use 1 cup per pound of chicken tenders.
My Method
To prepare these gluten free chicken tenders you will want to soak them in the “seasoned” buttermilk mixture for 4 hours (longer is ok, I have even let them soak overnight).
I usually add my chicken to a pyrex bowl that has a fitted lid, if you do not have one, you can also use a ziplock bag. I add my chicken first, cutting the tenders in half to make them easier to handle for my kids.
Next I will add the seasoning to my buttermilk, stir it gently, then add it to my bowl of chicken. I will then cover the bowl with a lid and place in the refrigerator for 4 hours or more.
When I am ready to cook the tenders, I will preheat my fryer to 375 degrees. If you do not have a fryer you can use a pot and heat oil to 375 degrees using a thermometer. If you are looking for a fryer, I use the Presto Pro Fryer and it is amazing.
Since we do not fry our food often, I generally use canola oil. My son has multiple food allergies so we cannot use certain other oils. Please don’t fault me for this and feel free to try this with a different oil of choice.
The key to remember here is that you are really only “flash frying” these gluten free chicken tenders. Flash flying takes less than 5 minutes and then the tenders are baked the remaining time at 450 degrees. I learned this technique from our very first cookbook of the month written by the Gluten Free Girl herself. It’s definitely a healthier way to make chicken tenders while still enjoying the crispness of a true tender.
If you are not yet a member of my Stay Gluten Free Community (it’s FREE to join, click here), make sure you join us. We have so much fun learning and supporting each other.
Once I have put together my dry mixture, I preheat my oven to 450, and grab a large glass pyrex baking dish and my tongs. Then I grab my tenders from the refrigerator and begin.
I use my tongs to transfer the chicken to the dry mixture and coat completely. Once I have a few coated to fill my fry basket with just one layer of chicken, I quickly place them in the basket, drop them in the oil and hear them sizzle. I watch the clock closely and I tend to leave mine in the fryer for 3 minutes or less depending on the size of my tenders. Your fryer may vary. Once your tenders are golden brown and look crispy you will want to immediately transfer them to the glass baking dish.
Why glass? Well I tried to bake them on foil and they stuck to the bottom. The glass baking dish just works best. Also, do not place them on a paper towel to remove access oil because they also may tend to stick to the baking dish if they are two dry. I generally let the oil drip for a few seconds over my fryer to let the excess fall naturally.
Continue this process until all of the tenders are “flash fried” and placed in the baking dish. Once filled, bake the tenders for 20-25 minutes depending on the thickness of your tenders.
And that’s it! Grab your favorite dipping sauce, serve and enjoy!
Your kids will be so excited to have this treat again or for the very first time. I hope you all love them as much as we do.
Until Next Time!
The post Gluten Free Chicken Tenders appeared first on Stayglutenfree.com. 

Gluten Free Chicken Tenders
Ingredients
Dairy Free Buttermilk
- 2 tbsp Apple cider vinegar
- 2 Cups Coconut Milk So Delicious Original Brand
Buttermilk mixture
- 2 Cups Dairy Free Buttermilk (will be slightly more because of the ACV
- 1 tbsp Paprika
- 1 tsp Garlic powder
- 1 tsp salt
Dry Coating
- 1 1/2 cups gluten free all purpose flour with xanthan gum already added (I use Pillsbury)
- 1 tbsp Chili powder
- 1 tsp salt
- 1/2 tsp baking powder
- 1/2 tsp baking soda
Instructions
- Mix the dairy free milk and apple cider vinegar. Set aside and let it it for 5 minutes.
- In medium bowl with lid add chicken, buttermilk, paprika, garlic powder and salt. (Make sure to follow measurements for the buttermilk mixture above)
- Cover with lid and refrigerate for 4 hours (more is ok)
- When you are ready to prepare your tenders in a medium sized bowl whisk together your dry coating of flour, chili powder, salt, baking powder and baking soda. Set aside
- Preheat cooking oil of choice in large pan or fryer to 375 degrees and oven to 450.
- Once both are ready remove chicken from refrigerator. One by one coat chicken tenders until all sides are covered.
- Add 5-6 tenders to oil at a time, keeping a close eye on them the entire time and "flash fry" 3 minutes or less, depending on thickness of chicken. Remove when they look golden and crisp.
- Remove from fryer and immediately put in a glass baking dish. (Glass will prevent sticking)
- Repeat until all tenders are out of fryer and bake in oven for 20-25 minutes depending on the thickness of your tenders.
- Serve with your favorite dipping sauce and enjoy!
Notes


